
VPN for iPhone: How to Set Up and Use a VPN on iOS (2026 Guide)
If you use your iPhone on public Wi-Fi, shop on your phone, or just want more privacy online, a VPN for iPhone is one of the simplest upgrades you can make. It encrypts your connection and hides your IP address, and the whole setup takes just a few minutes.
In this guide, you will learn what a VPN does on iOS, how to set one up two different ways, and how to pick a provider you can trust. You will also find answers to the questions iPhone owners ask most about VPNs. Let’s get your iPhone protected.
Quick Answer
A VPN for iPhone is an app or a built-in iOS setting that encrypts your internet traffic and routes it through a secure server. The easiest setup is to install a trusted VPN app from the App Store, sign in, and tap Connect. Your IP address is hidden, your data is encrypted, and you can manage the connection anytime from Settings > VPN.
Key Takeaways
- A VPN encrypts your iPhone traffic and hides your IP address from websites and your carrier.
- The fastest setup is a VPN app from the App Store: install it, sign in, and tap Connect.
- iOS also has a manual VPN option in Settings > General > VPN & Device Management.
- A VPN badge in the status bar means your connection is protected.
- Paid VPNs with no-logs policies are safer than most free VPNs.
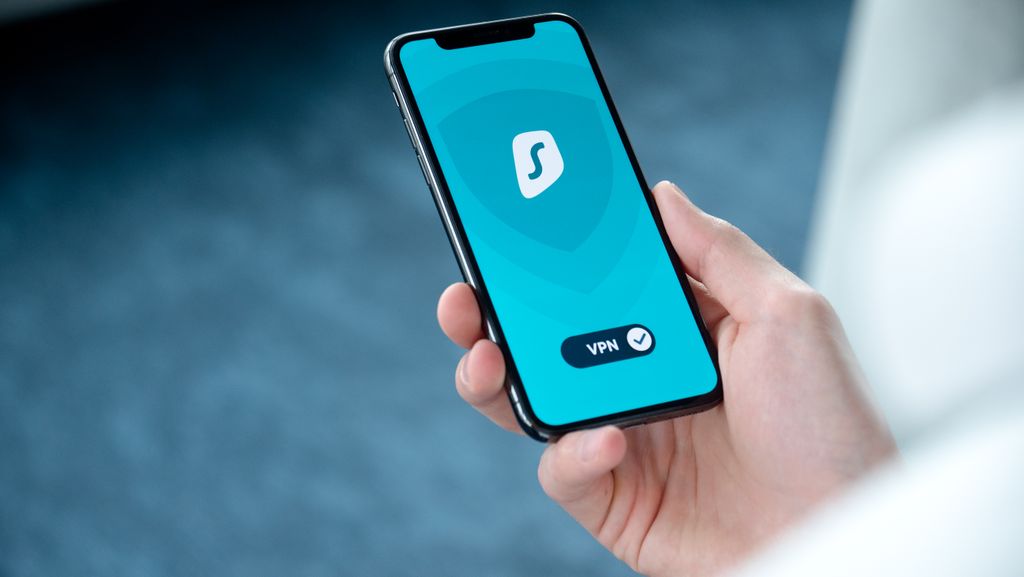
Why Use a VPN for iPhone?
Your iPhone sends a surprising amount of data across the internet every day: logins, messages, banking sessions, and browsing history. On your home network, your internet provider can see which sites you visit. On public Wi-Fi at a cafe, hotel, or airport, anyone with basic snooping tools can watch traffic that is not encrypted.
A VPN for iPhone fixes both problems at once. It builds an encrypted tunnel between your iPhone and a VPN server, so your provider sees only scrambled data and nearby snoopers see nothing useful. Websites see the VPN server’s IP address instead of yours, which also helps when you travel and want to reach services from back home.
It is not only about hiding things. A VPN for iPhone protects you on networks you do not control, cuts down on ad tracking tied to your IP address, and adds a layer of safety when you bank or shop from your phone.
How to Set Up a VPN for iPhone Using the Settings App
iOS has a built-in VPN client, so you can connect without installing anything extra. You will need the server details from your VPN provider or your workplace IT team: the server address, your account name, your password, and the VPN type. Most providers that support manual setup use IKEv2.
Note
The manual method only works if you have the server details from your VPN provider or your IT team. If you do not have them, skip to the app method below. It is faster and needs no technical setup.
- Open Settings, then tap General.
- Tap VPN & Device Management, then tap VPN.
- Tap Add VPN Configuration.
- Choose the VPN type your provider supports, such as IKEv2 or IPSec.
- Fill in the Description, Server, Account, and Password fields with the details from your provider.
- Tap Done in the top right corner.
- Flip the Status switch to connect. A small VPN badge appears in the status bar when the tunnel is active.
The Settings method is handy for work VPNs and providers that hand out manual configuration details. For most people, though, a dedicated app is easier because it handles server switching and protocol choices for you.
How to Set Up a VPN for iPhone Using a VPN App
This is the method most iPhone owners should use. A good VPN for iPhone app from the App Store configures everything for you and adds useful extras like one-tap server changes and auto-connect on untrusted networks.
- Open the App Store and search for a trusted VPN provider. Read recent reviews and look for a clear no-logs policy before you install.
- Download the app, then create an account or sign in.
- Open the app and allow it to add VPN configurations when iOS asks. This is a standard system prompt, and you only approve it once.
- Pick a server location. For the best speed, choose a server close to where you are.
- Tap the Connect button. iOS shows a VPN badge in the status bar once the tunnel is active.
- To disconnect later, open the app and tap Disconnect, or flip the switch in Settings > VPN.
After setup, you can manage your VPN for iPhone connection without opening the app: go to Settings > VPN and use the Status switch. If you ever want to remove the VPN completely, our guide on how to turn off VPN on iPhone, Android, Windows, and Mac walks you through it.
How to Tell If Your VPN for iPhone Is Working
iOS makes this easy. When a VPN is active, a small VPN badge appears in the status bar at the top of your screen. On iPhones with Face ID, swipe down from the top right corner to open Control Center and check the status icons.
For extra peace of mind, visit an IP checker site before and after you connect. The IP address and location it shows should change to match the VPN server you picked. If nothing changes, reconnect or try a different server in the app.
Free vs Paid VPN for iPhone: Which Should You Choose?
Free VPN apps are tempting, but they come with trade-offs. Running servers costs money, and free providers sometimes cover the bills by limiting speeds, showing ads, or logging your activity. That last one defeats the entire purpose of using a VPN for iPhone.
| Free VPN | Paid VPN | |
|---|---|---|
| Monthly cost | $0 | Usually a few dollars per month |
| Speed | Often slow or capped | Fast servers, good for streaming |
| Data limits | Usually capped | Unlimited |
| Privacy policy | Varies, and some log activity | No-logs policies are common |
| Server locations | Only a few | Dozens of countries |
If you only need a VPN once in a while, a reputable free plan from a well-known provider can be fine. If you plan to keep it on every day, a paid plan is the better deal: faster speeds, more server locations, and a business model that does not depend on your data.
Pro Tip
Look for a provider with a published no-logs policy and independent security audits. Also check that the app supports modern protocols like WireGuard or IKEv2, which are fast and reliable on iOS.
Is It Safe to Use a VPN for iPhone?
Yes. Using a VPN for iPhone is safe and legal in most countries, including the United States. Apple reviews VPN apps before they reach the App Store, and iOS asks for your permission before any app can install a VPN configuration.
The main risk is the provider itself. Your VPN company routes your traffic, so a shady provider could log what you do. That is why the provider matters more than the app design or the price. Stick with well-reviewed companies that publish clear ownership details and a no-logs policy.
Warning
Avoid random free VPN apps with few reviews or no published privacy policy. Some have been caught logging browsing data or injecting ads. A VPN should protect your privacy, not sell it. If a deal looks too good to be true, check the provider’s reputation first.
Curious how a VPN compares with other privacy tools? Our proxy vs VPN guide breaks down the differences side by side.
VPN for iPhone FAQs
Does the iPhone have a built-in VPN?
iOS includes a built-in VPN client in Settings > General > VPN & Device Management, but it is not a VPN service by itself. You still need server details from a VPN provider or your employer. Most people find a dedicated VPN app simpler because it handles configuration automatically.
Will a VPN slow down my iPhone?
A VPN can reduce speeds slightly because encryption takes processing power and your traffic travels through an extra server. With a good provider and a nearby server, the difference is small: you can still stream, browse, and video call without trouble. If speeds drop a lot, switch to a closer server or try the WireGuard protocol.
Is it legal to use a VPN on an iPhone?
In the United States and most countries, using a VPN on your iPhone is completely legal. A few countries restrict or ban VPN use, so check local rules before you travel. Using a VPN does not make illegal activity legal, on any device.
Can I use a free VPN on my iPhone?
Yes, but choose carefully. Reputable providers offer limited free plans that are safe to use. Avoid unknown free apps with no privacy policy, since some log your activity or show intrusive ads. For daily use, a low-cost paid plan is usually the smarter pick.
Do I need to keep the VPN on all the time?
Not necessarily. Many people turn it on for public Wi-Fi, travel, or banking, and off at home. If you want constant protection, most VPN apps offer auto-connect on untrusted networks. Just keep an eye on battery life, since an active VPN uses a little extra power.
Final Thoughts
Setting up a VPN for iPhone takes just a few minutes, and it is one of the easiest ways to take charge of your mobile privacy. Use a trusted app for the simplest experience, or the built-in Settings method if your provider gave you manual details.
Pick a provider with a no-logs policy, keep the app updated, and switch your VPN for iPhone on whenever you join Wi-Fi you do not trust. Small habit, big payoff for your privacy.