
How to Clean Laptop Fan: A Simple Step-by-Step Guide for 2026
If your laptop sounds like a jet preparing for takeoff, the problem is rarely the machine itself. It is dust. Over months of daily use, dust and lint pack into the cooling fan and vents until the system has to spin harder just to stay cool. This guide shows you how to clean laptop fan dust safely, step by step, whether or not you ever open the case. You will need about 15 minutes, a can of compressed air, and nothing else for the basic method. A deeper clean takes one small screwdriver and a little more time, but it is beginner friendly if you follow the safety steps below.
Quick Answer
The short answer: learning how to clean laptop fan buildup takes about 15 minutes and one can of compressed air. Shut the laptop down, unplug it, and blow short bursts of air into the exhaust vents to push dust back out the way it came in. For a deeper clean, remove the back panel, hold the fan blades still, and brush the dust away gently. Repeat every 6 to 12 months, and never use a vacuum cleaner or let the air stream spin the fan freely.
Why Laptop Fans Collect So Much Dust
Your laptop’s cooling system is basically a tiny vacuum cleaner that runs all day. The fan pulls cool air in through the intake vents, pushes it across the hot processor and graphics chip, then blows the warmed air out through the exhaust. Every bit of that air carries household dust, pet hair, and fabric fibers, and the fast-spinning blades give all of it a place to stick.
Laptops collect more dust than desktops for a simple reason: they sit on beds, couches, and laps, where soft surfaces press against the intake vents and trap warm air underneath. A laptop used on a blanket can overheat in months, while a desktop on a desk stays clean for a year. Thin and light models suffer most, because their smaller fans spin faster, so even a thin layer of dust throws them off balance and makes them loud.
7 Signs Your Laptop Fan Needs Cleaning
You do not need to open anything to diagnose a dusty fan. Watch for these warning signs:
- The fan runs loudly even when you are only browsing the web.
- The bottom of the laptop feels uncomfortably hot to the touch.
- Programs stutter or the system slows down during simple tasks.
- The laptop shuts down by itself, especially during video calls or games.
- You can see dust caked around the vent grilles on the sides or back.
- Battery life has dropped noticeably without any settings change.
- The fan spins up and down in loud bursts instead of running steadily.
If you recognize two or more of these, a cleaning is overdue. Heat is the number one killer of laptop components, so this is one chore worth doing on time.
What You Need Before You Start
You need surprisingly little:
- A can of compressed air, electronics grade, with the thin straw nozzle.
- A small Phillips-head screwdriver (deep-clean method only).
- A soft brush or an old soft toothbrush (deep-clean method only).
- A clean, well-lit table and a small bowl for screws.
That is the whole kit. Skip the vacuum cleaner, the hair dryer, and any liquid cleaners. They bring static, heat, or moisture, which are the three things most likely to damage your laptop.
Safety First: Power Down and Back Up
Fan cleaning is safe, but only if the machine is fully off:
- Save your work, shut the laptop down completely, and unplug the charger.
- Disconnect every cable and accessory, including USB drives and docking stations.
- If your model has a removable battery, take it out. Most modern laptops do not, so just confirm the machine is powered off rather than asleep.
- Back up anything you cannot afford to lose. Opening the case is low risk, but a backup is free insurance. If you have never set one up, read our explainer on what cloud storage is and how the free plans work.
Work on a hard, flat surface, and touch a metal object before you begin to discharge static from your hands.
How to Clean Laptop Fan Without Opening Your Laptop
This vent method fixes most noise and heat problems, and it takes about 10 minutes:
- Shut down and unplug the laptop, then move it to a ventilated area. Loosened dust will puff out, so do not do this over your bed.
- Find the vents. Intakes sit on the bottom; the exhaust is on the side or back. Prop the laptop on its edge or on a book so you do not block the intakes while you work.
- Attach the straw nozzle to the compressed air can and hold the can upright. Never tilt it, or freezing liquid can spray out.
- Blow short 1 to 2 second bursts into the exhaust vents, pausing between bursts. Short bursts dislodge dust without overspinning the fan.
- Work around every vent opening, then flip the laptop and give the intake grilles the same treatment from the outside.
- Wait a minute for any condensation to evaporate, wipe the vent area with a dry cloth, then power on and listen. The difference is usually immediate.
This short-burst technique is the same one manufacturers recommend. Dell’s official laptop cleaning guide warns against vacuums and blowers, which create static, and advises clearing vents with compressed air instead.
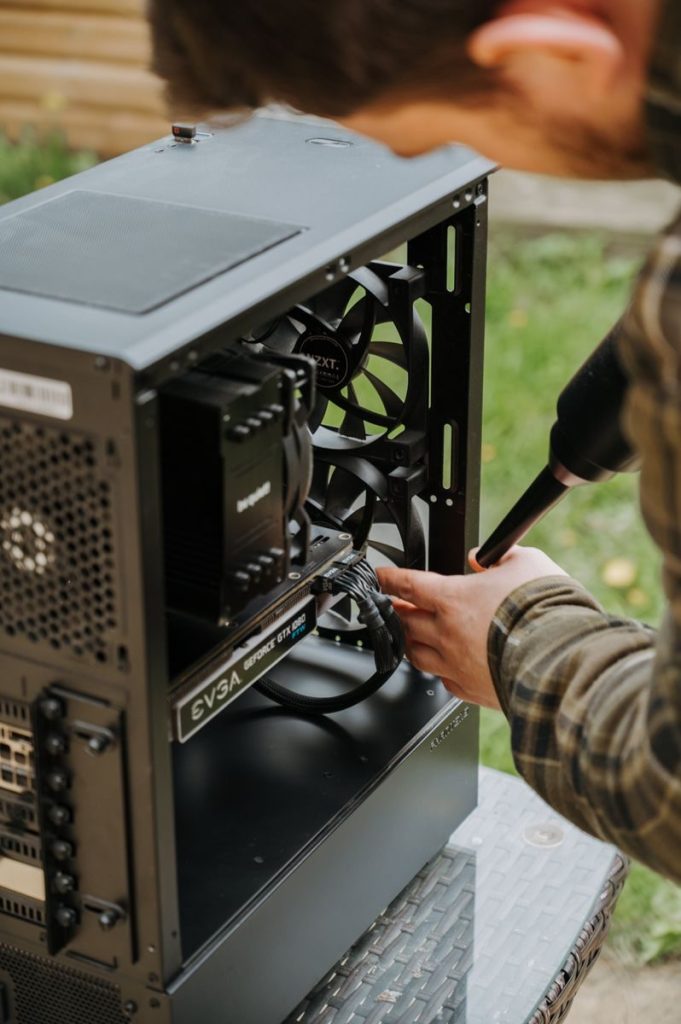
Deep Clean: Opening the Back Panel
If the vent method did not quiet things down, dust is packed directly onto the blades. The steps below show how to clean laptop fan blades directly:
- Power off, unplug, and remove the battery if it is removable. Flip the laptop over.
- Unscrew the back panel and drop every screw into a small bowl. Screws are often different lengths, so snap a photo first to remember which hole each came from.
- Lift the panel gently. If it resists, look for hidden screws under rubber feet or stickers instead of forcing it.
- Find the fan and hold the blades still with a finger or a cotton swab. This is the most important step: letting the air stream spin the fan freely can damage its bearings.
- Aim short bursts of compressed air at the blades and the heatsink fins next to them, then brush away anything still stuck with a soft brush.
- Clear the vents from the inside, picking out any dust bunnies by hand.
- Replace the panel, tighten the screws snugly without overtightening, and power on.
If a warranty sticker covers one of the screws, opening the case may void your warranty. Check the terms first, or let an authorized shop handle this step.
How Often Should You Clean Your Laptop Fan?
For most people, every 6 to 12 months is enough. Clean closer to every 6 months if you have pets, if anyone smokes indoors, or if you use the laptop on soft surfaces like beds and couches. Gamers and video editors should check at least once a year, since heavy workloads keep the fan at full speed and pull in more dust. If you work in a clean office and keep the laptop on a desk or a stand, once a year is plenty.
6 Mistakes to Avoid
- Using a vacuum cleaner. The nozzle builds static electricity that can fry components.
- Letting the fan spin freely in the air stream. Hold the blades still or you can wreck the bearings.
- Tilting the air can. The propellant sprays out as a freezing liquid that can crack solder joints.
- Cleaning while the laptop is on or plugged in. Always shut down fully first.
- Blowing dust deeper inside. Blow outward through the exhaust rather than inward when doing the basic method.
- Forcing the back panel. Hidden screws under rubber feet are common, and forcing the panel cracks the plastic clips.
When to See a Technician Instead
Cleaning fixes dust, not failing hardware. Book a repair shop if the fan grinds or clicks after cleaning, if the laptop still overheats with clean vents, or if you are not comfortable opening the case. A replacement fan usually costs far less than a new machine, and a technician can replace dried-out thermal paste in the same visit. If your laptop is five or more years old and still struggles when clean, compare current models in our best laptops for students guide before paying for repairs.
Frequently Asked Questions
Can I clean my laptop fan without opening it?
Yes. The compressed air vent method in this guide clears most dust without removing a single screw. Only move to the deep-clean method if the noise or heat continues afterward.
Is it safe to use a vacuum cleaner on laptop vents?
No. Vacuums generate static electricity at the nozzle, which can damage sensitive electronics. Compressed air is cheap, safe, and the method manufacturers recommend.
How often should I clean my laptop fan?
Every 6 to 12 months for typical use. Pet owners, smokers, and anyone who uses a laptop on a bed should do it every 6 months. A yearly cleaning is enough for clean desk setups.
Can dust permanently damage my laptop?
Yes, over time. Trapped heat degrades the battery, shortens the life of the processor, and can warp solder joints. Regular cleaning is one of the cheapest ways to extend a laptop’s lifespan.
Should I replace the thermal paste while the case is open?
Only if the laptop is several years old and still runs hot after cleaning. Thermal paste replacement is more delicate than fan cleaning; if you have never done it, let a technician handle it.
Why is my laptop still hot after cleaning the fan?
The fan may be failing, the thermal paste may be dried out, or background software may be maxing out the processor. Check Task Manager on Windows or Activity Monitor on Mac for runaway processes, and see a technician if the heat persists.
Final Thoughts
Now you know how to clean laptop fan vents on your own schedule, not just when the machine starts gasping for air. The basic method takes 15 minutes and a five-dollar can of air, and it solves most noise and heat complaints. Mark your calendar for the next cleaning, keep the laptop off soft surfaces, and your machine will run cooler and quieter for years.