
Smart Home Installation: A Beginner’s Guide (2026)
Turning a regular house into a connected one sounds like a big project, but most of the work is planning, not wiring. Modern smart devices are built for homeowners, not electricians, and many of them install in minutes with nothing more than a screwdriver and a phone app.
This guide walks you through the whole process, from choosing an ecosystem to placing your last sensor. A careful smart home installation usually takes a single weekend, and the result is lighting, locks, cameras, and thermostats that all work together from one app or a simple voice command.
Quick Answer
Smart home installation is easiest when you follow a simple order: pick one ecosystem first, then buy only devices that work with it, then sort out your Wi-Fi, and finally add devices room by room. Start with a smart speaker, a few smart bulbs, and a video doorbell. You can expand later without redoing anything you already set up.
Plan Your Smart Home Before You Buy Anything
The biggest reason smart home projects stall is that people buy gadgets before they decide what they actually want. Spend thirty minutes walking through your home with a notepad and answer a few questions for each room. Which lights do you always forget to turn off? Do you want to see who is at the door from your couch? Would a thermostat that learns your schedule actually save you money?
Write down your answers as a simple wish list, then set a budget next to each item. This list becomes your shopping guide and stops impulse buys. Two checks belong on every plan. If you rent, skip anything that replaces wall switches or door locks, and stick with bulbs, plugs, and battery-powered sensors. If you own and want smart light switches, check for a neutral wire in the switch boxes, since many older US homes lack one and most smart switches need it.
Choose Your Ecosystem: Alexa, Google Home, or Apple HomeKit
Your ecosystem is the brain of the setup: the app and voice assistant everything connects to. Running one primary ecosystem keeps automations simple and avoids juggling five apps a day.
- Amazon Alexa: the widest device support and cheapest entry point. Echo devices go on sale constantly, and nearly every smart brand works with Alexa.
- Google Home: the natural pick for Android households, pairing well with Nest thermostats, cameras, and doorbells.
- Apple HomeKit: the best choice for privacy and iPhone-heavy homes. Device selection is smaller and prices run higher, but connections stay encrypted and local.
Whichever you choose, look for the Matter logo on the box. Matter is the industry standard backed by Apple, Google, Amazon, and Samsung, and it lets devices from different brands work together. The official Matter smart home standard page keeps an updated list of certified products, which is handy when you are comparing brands.
What You Need: The Smart Home Devices Checklist
You do not need everything on day one. Buy the first three items to begin, then add the rest as your budget allows.
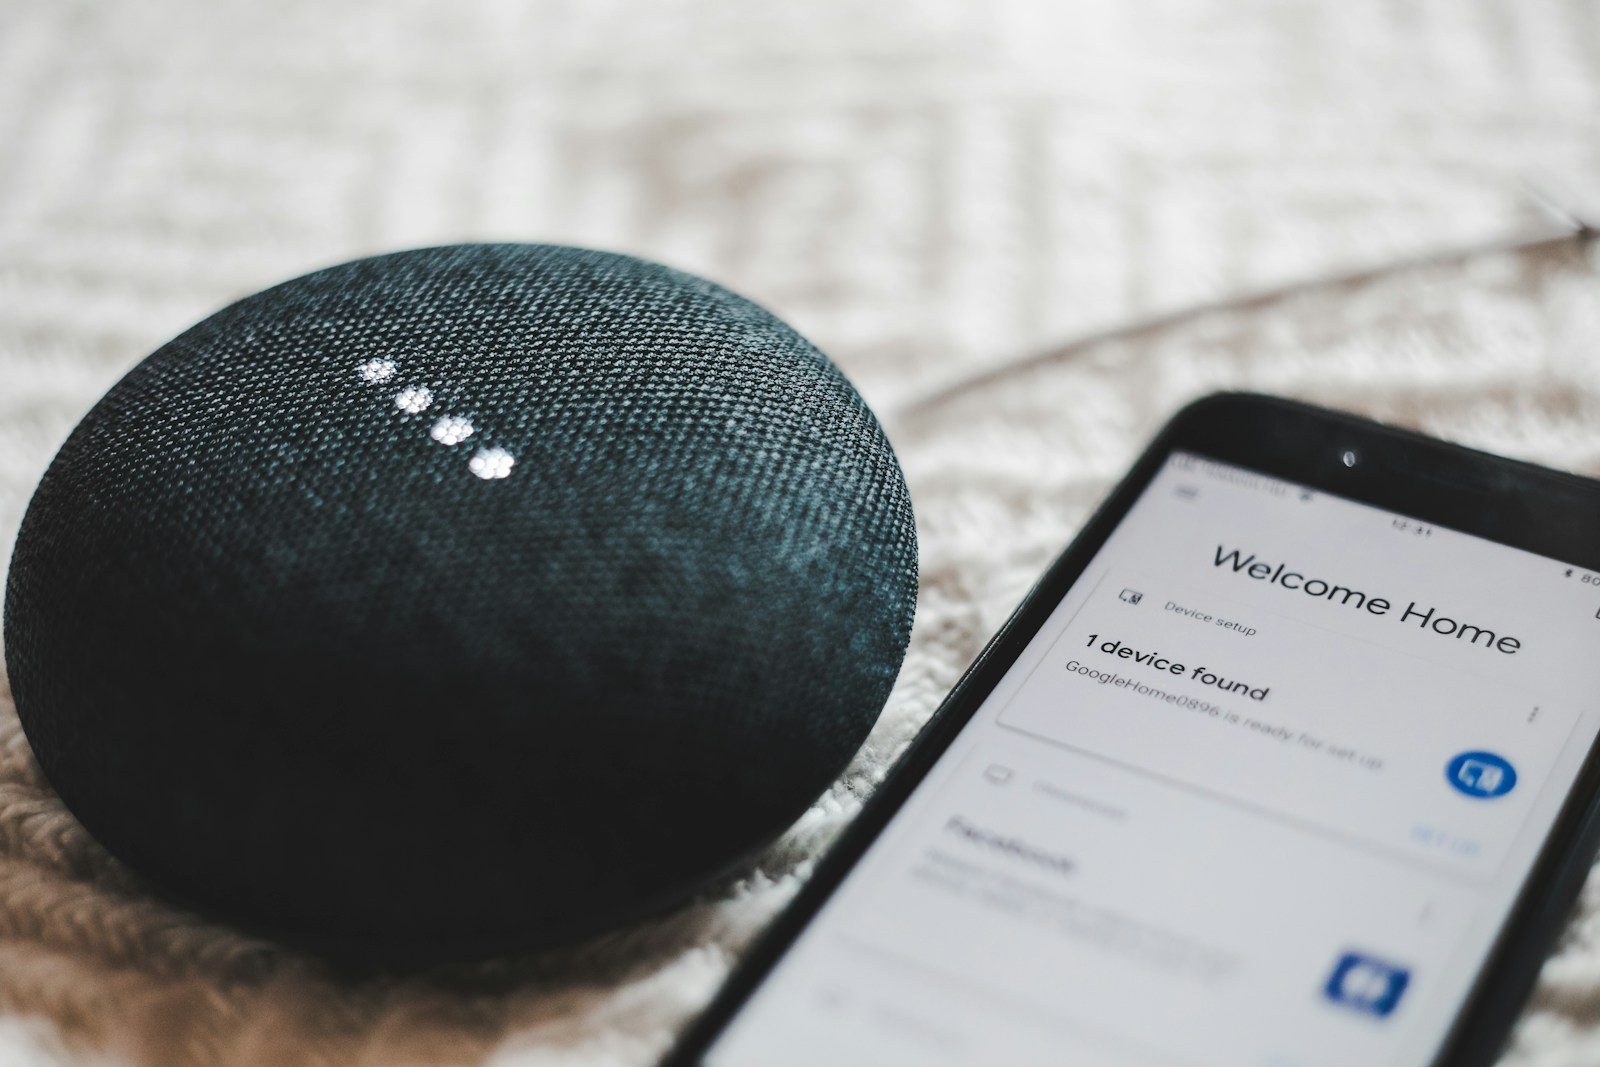
- Smart speaker or display (your voice controller and often your hub)
- Smart bulbs or smart switches for the two rooms you use most
- Two or three smart plugs for lamps, fans, and holiday lights
- Video doorbell so you always know who is at the door
- Smart lock for keyless entry and guest codes
- Smart thermostat to cut heating and cooling bills
- Indoor or outdoor camera for the spots that matter most
- Door, window, and leak sensors for quiet background protection
Smart Home Installation Walkthrough: Step by Step
- Set up your ecosystem account and hub. Install your ecosystem app, sign in, and place your smart speaker or display in a central spot as the voice controller for everything else.
- Fix your Wi-Fi before you add a single device. Put your router in a central, elevated spot, away from thick walls and metal appliances. Most smart devices use the 2.4 GHz band, which reaches farther than 5 GHz, so make sure it is enabled.
- Install one brand app at a time. Unbox your first device, install its maker app, connect it to Wi-Fi, then link that brand account inside your ecosystem app. Work through brands one at a time so you always know which step caused a problem if one appears.
- Add devices room by room, starting near the router. Begin with the room closest to your router and work outward. Pair each device, confirm it responds in both apps, then move on. Rushing this step is how people end up with a bulb named “Device 47” that nobody can find.
- Name everything clearly. Use names like “Living Room Lamp” and “Front Door Lock.” Clear names make voice commands reliable and keep automations readable six months from now.
- Build two or three routines. Try a “Good morning” routine that turns on lights and reads the weather, plus an “Away” routine that locks the door and turns everything off.
- Test everything, then lock it down. Walk through the house and trigger every device, sensor, and routine. Then turn on two-factor authentication for every smart home account and update device firmware where the app offers it.
Wi-Fi and Network Tips for a Reliable Setup
Weak Wi-Fi causes most “my smart home keeps disconnecting” complaints. A few habits prevent them.
- Place the router centrally and elevated. A router stuffed behind the TV in a corner cabinet is a recipe for dead zones.
- Consider a mesh Wi-Fi system for homes over about 1,500 square feet or with two floors. One strong network beats three overlapping extenders.
- Put smart devices on a separate guest or IoT network if your router supports it. This keeps cameras and plugs isolated from your laptops and phones.
- Restart your router once a month. A scheduled overnight reboot clears memory leaks that cause slow, flaky connections.
If an old laptop runs your dashboards or automation software around the clock, dust-clogged vents cause overheating and dropouts. Follow this guide on how to clean laptop fan vents before you blame your Wi-Fi.
Smart Home Ecosystems Compared
| Ecosystem | Best For | Voice Assistant | Device Support | Typical Starter Cost |
|---|---|---|---|---|
| Amazon Alexa | Biggest device choice on a budget | Alexa | Widest, 100,000+ compatible devices | $60 to $120 |
| Google Home | Android households and Nest gear | Google Assistant | Very wide, strong Nest integration | $60 to $130 |
| Apple HomeKit | Privacy and iPhone-first homes | Siri | Smaller but curated, Matter helps | $100 to $200 |
Common Mistakes to Avoid
- Buying devices before choosing an ecosystem. Pick the brain first, then buy parts that fit it.
- Living in five different apps. Link every brand into your ecosystem app and run daily life from there.
- Skipping two-factor authentication. Turn on 2FA for every smart home account.
- Forgetting the neutral wire check. Confirm the neutral wire exists in each box before buying smart switches, or choose a no-neutral model.
How Much Does a Smart Home Cost?
A starter setup with a smart speaker, a few bulbs, and two smart plugs runs about $150 to $300. For a full smart home installation in a three-bedroom house, most homeowners spend between $600 and $1,200 on devices, with no monthly fees required for the basics. Video doorbells and cameras sometimes offer optional cloud storage plans at $3 to $10 per month, but local storage options avoid subscriptions.
Since every camera, lock, and speaker connects to your network, protect the computers and phones that manage them too. Running a solid layer of best free antivirus software on your Windows machines is a cheap safety net for the whole setup.
Pro Tip: buy one extra smart plug and one extra motion sensor beyond your plan. They are the cheapest way to experiment, and you will always find a use for them, from a coffee maker routine to a laundry-done alert when the dryer stops vibrating.
Key Takeaways
- Choose one ecosystem (Alexa, Google Home, or Apple HomeKit) before buying any device.
- Plan room by room, set a budget, and check renter limits and neutral wires first.
- Sort out Wi-Fi coverage before adding devices, starting near the router.
- Add devices one brand at a time, name them clearly, and build a few routines.
- Secure every account with two-factor authentication and keep firmware updated.
Frequently Asked Questions
How long does it take to set up a smart home?
A typical smart home installation takes 2 to 6 hours for a starter setup of a speaker, bulbs, plugs, and a doorbell. A whole-house project with switches, locks, a thermostat, and cameras usually spreads across a weekend, mostly because of planning and Wi-Fi tuning rather than the devices themselves.
Do I need a separate smart home hub in 2026?
Usually not. Most smart speakers and displays now include hub radios like Zigbee, Thread, or Matter built in. You only need a standalone hub if you buy into a brand that requires its own bridge, such as some older Philips Hue or Lutron setups.
Can renters install smart home devices?
Yes, as long as you stick with no-wiring gear: smart bulbs, plugs, battery-powered sensors, and a smart speaker. Everything comes with you when you move, and nothing damages the walls.
Is a smart home safe from hackers?
It is as safe as the effort you put into securing it. Use strong unique passwords, turn on two-factor authentication, keep firmware updated, and put IoT gadgets on a separate guest network. Stick with well-known brands that publish security updates.
Do smart devices work during an internet outage?
It depends. Devices that run locally over Zigbee, Z-Wave, Thread, or Matter keep working for basic on and off control, especially with local automations. Cloud-dependent features like voice commands, remote access, and video history pause until the internet returns.
What is the cheapest way to start a smart home?
Buy a discounted smart speaker and a two-pack of smart bulbs from the same ecosystem, usually under $70 total during sales. Learn routines with those, then add smart plugs, which are the best value device in the whole category at $10 to $15 each.